QNAP TS-453mini NAS Review
This is possibly the best NAS we have reviewed ever, with a great UI/software, nice looks and great options!
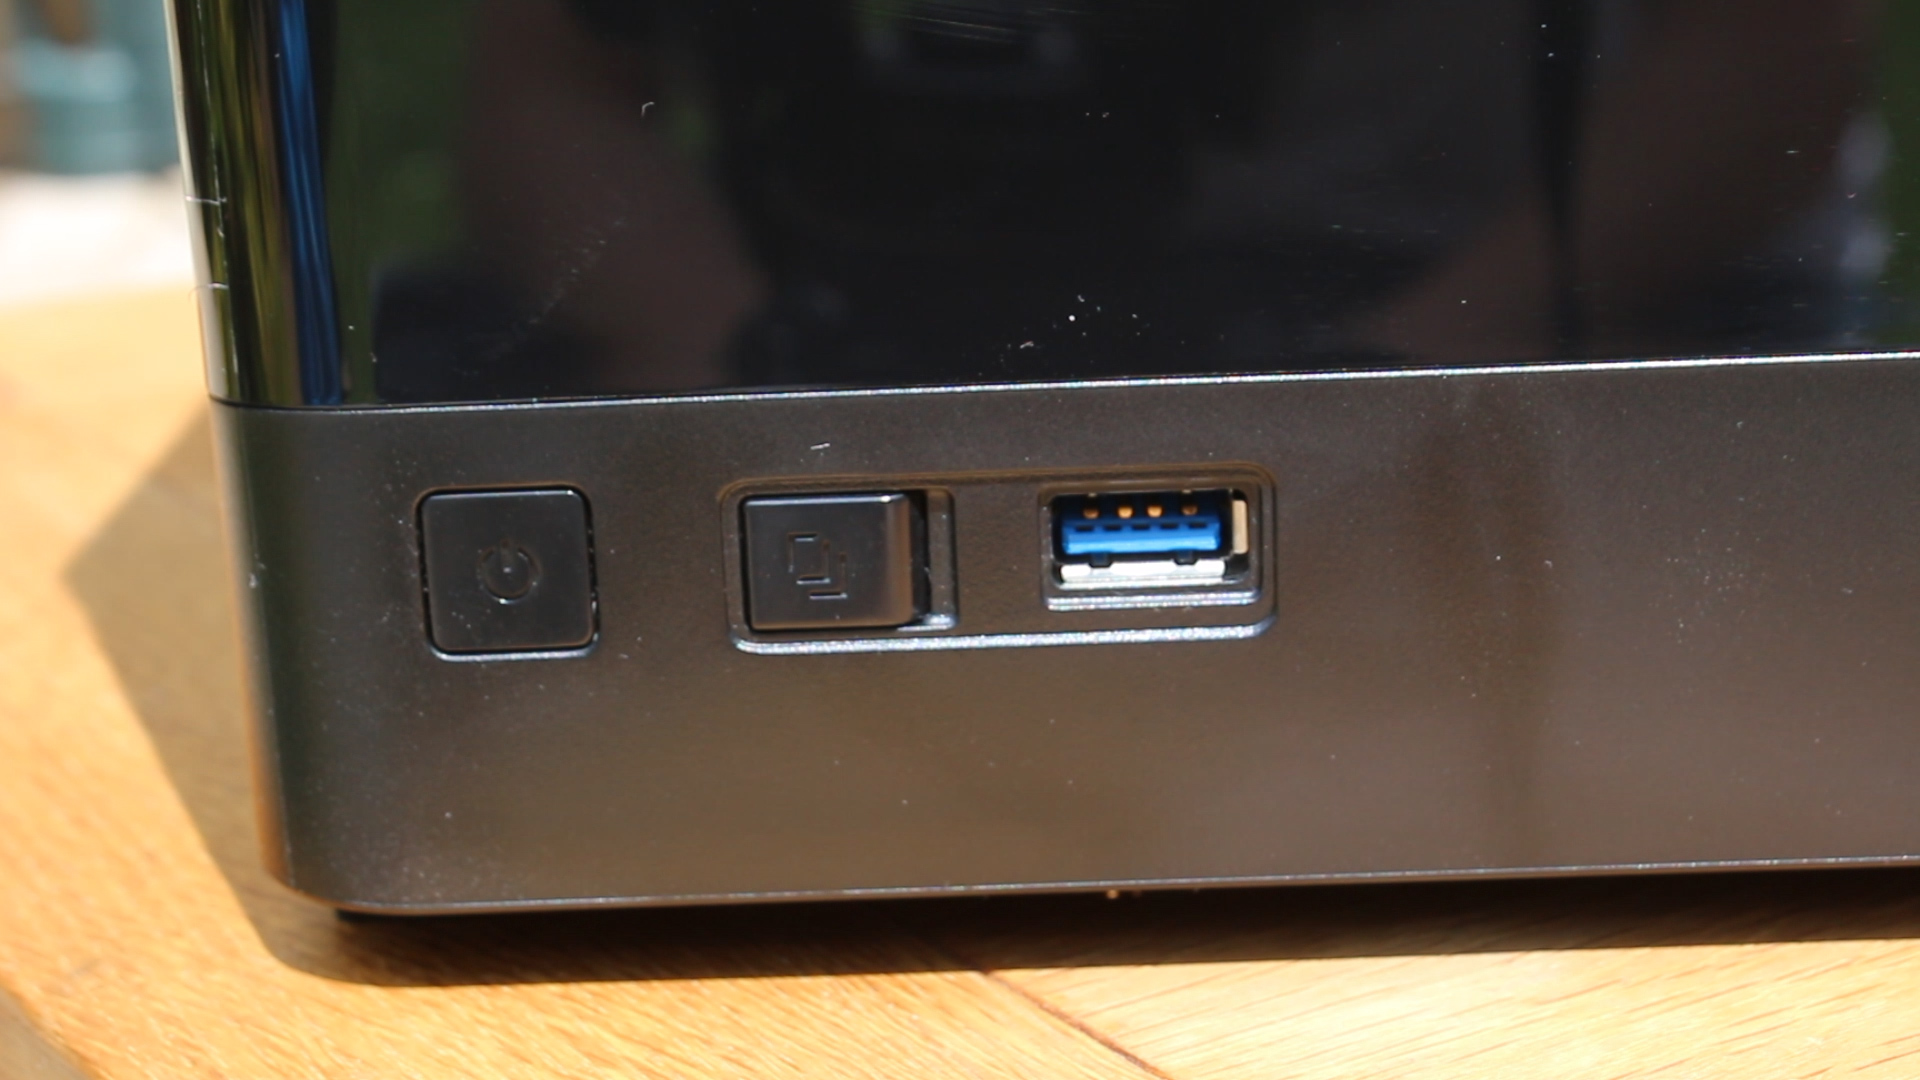
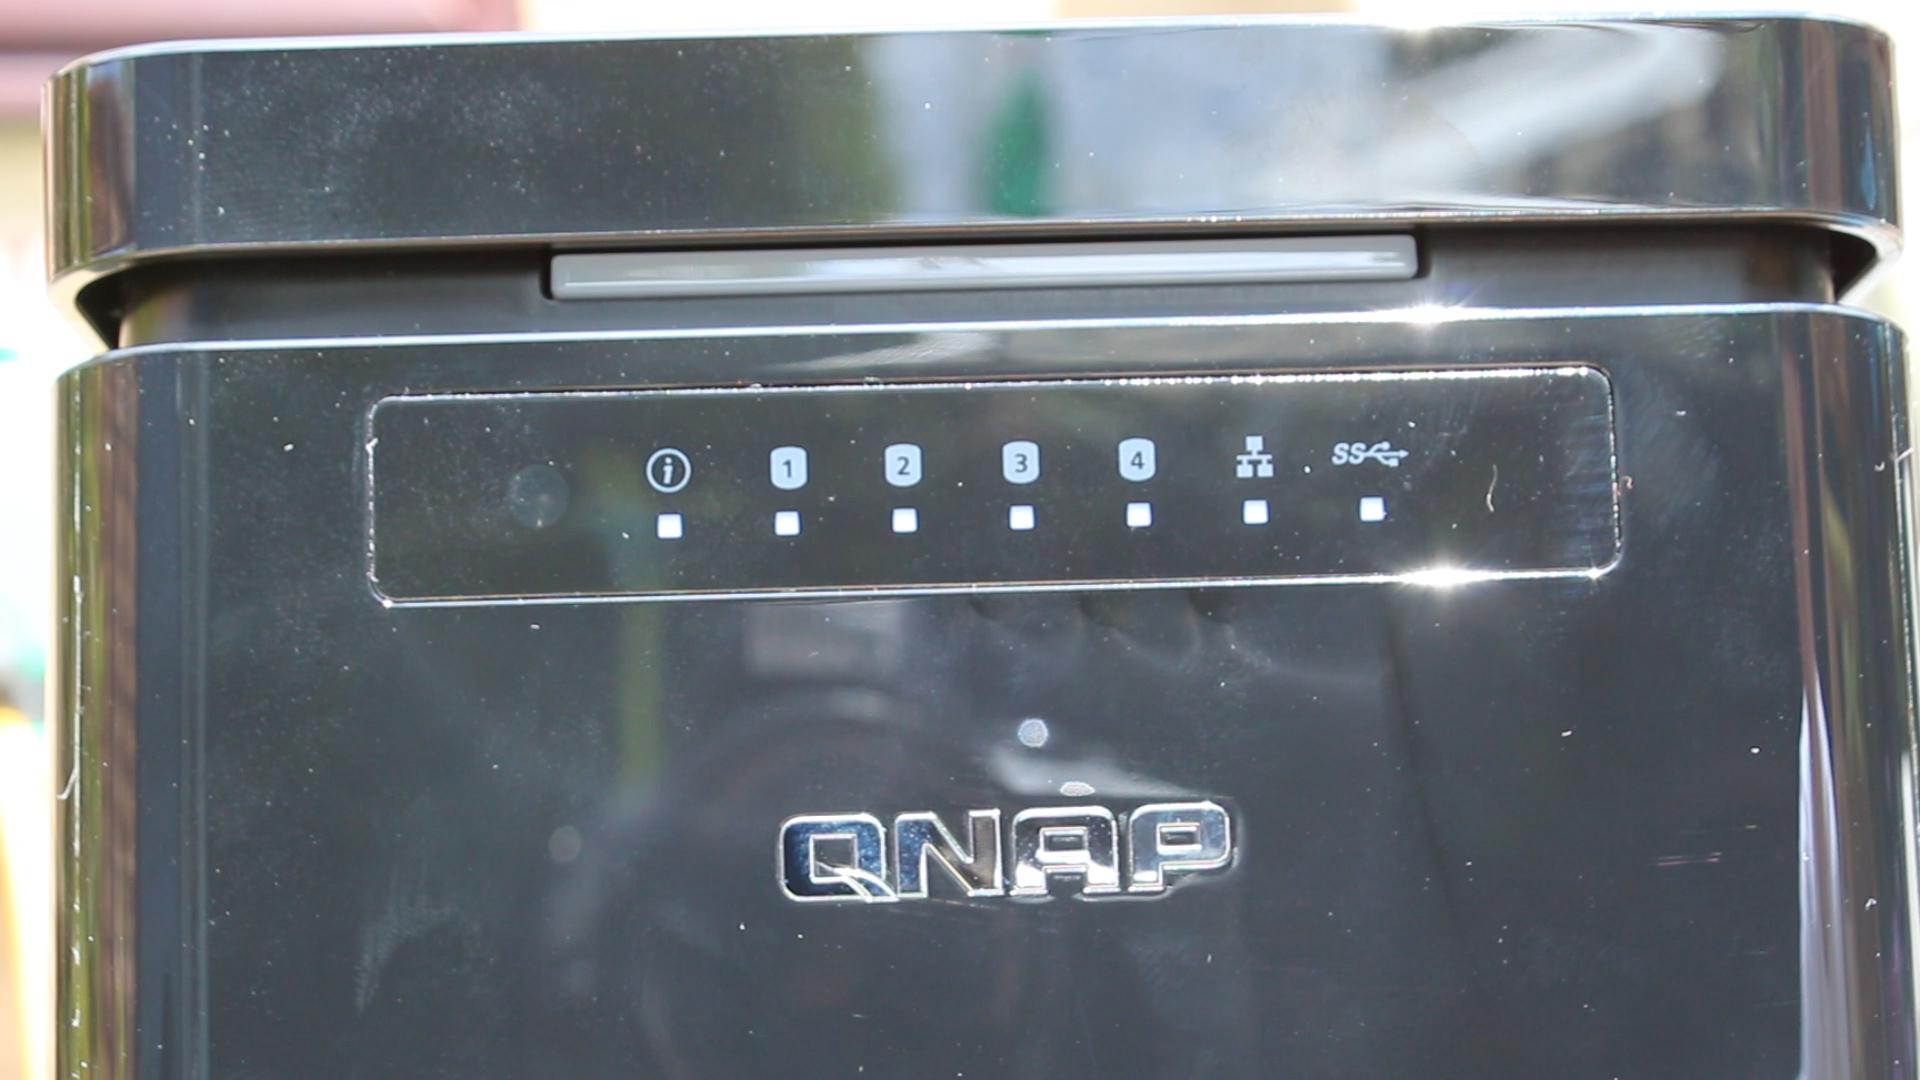
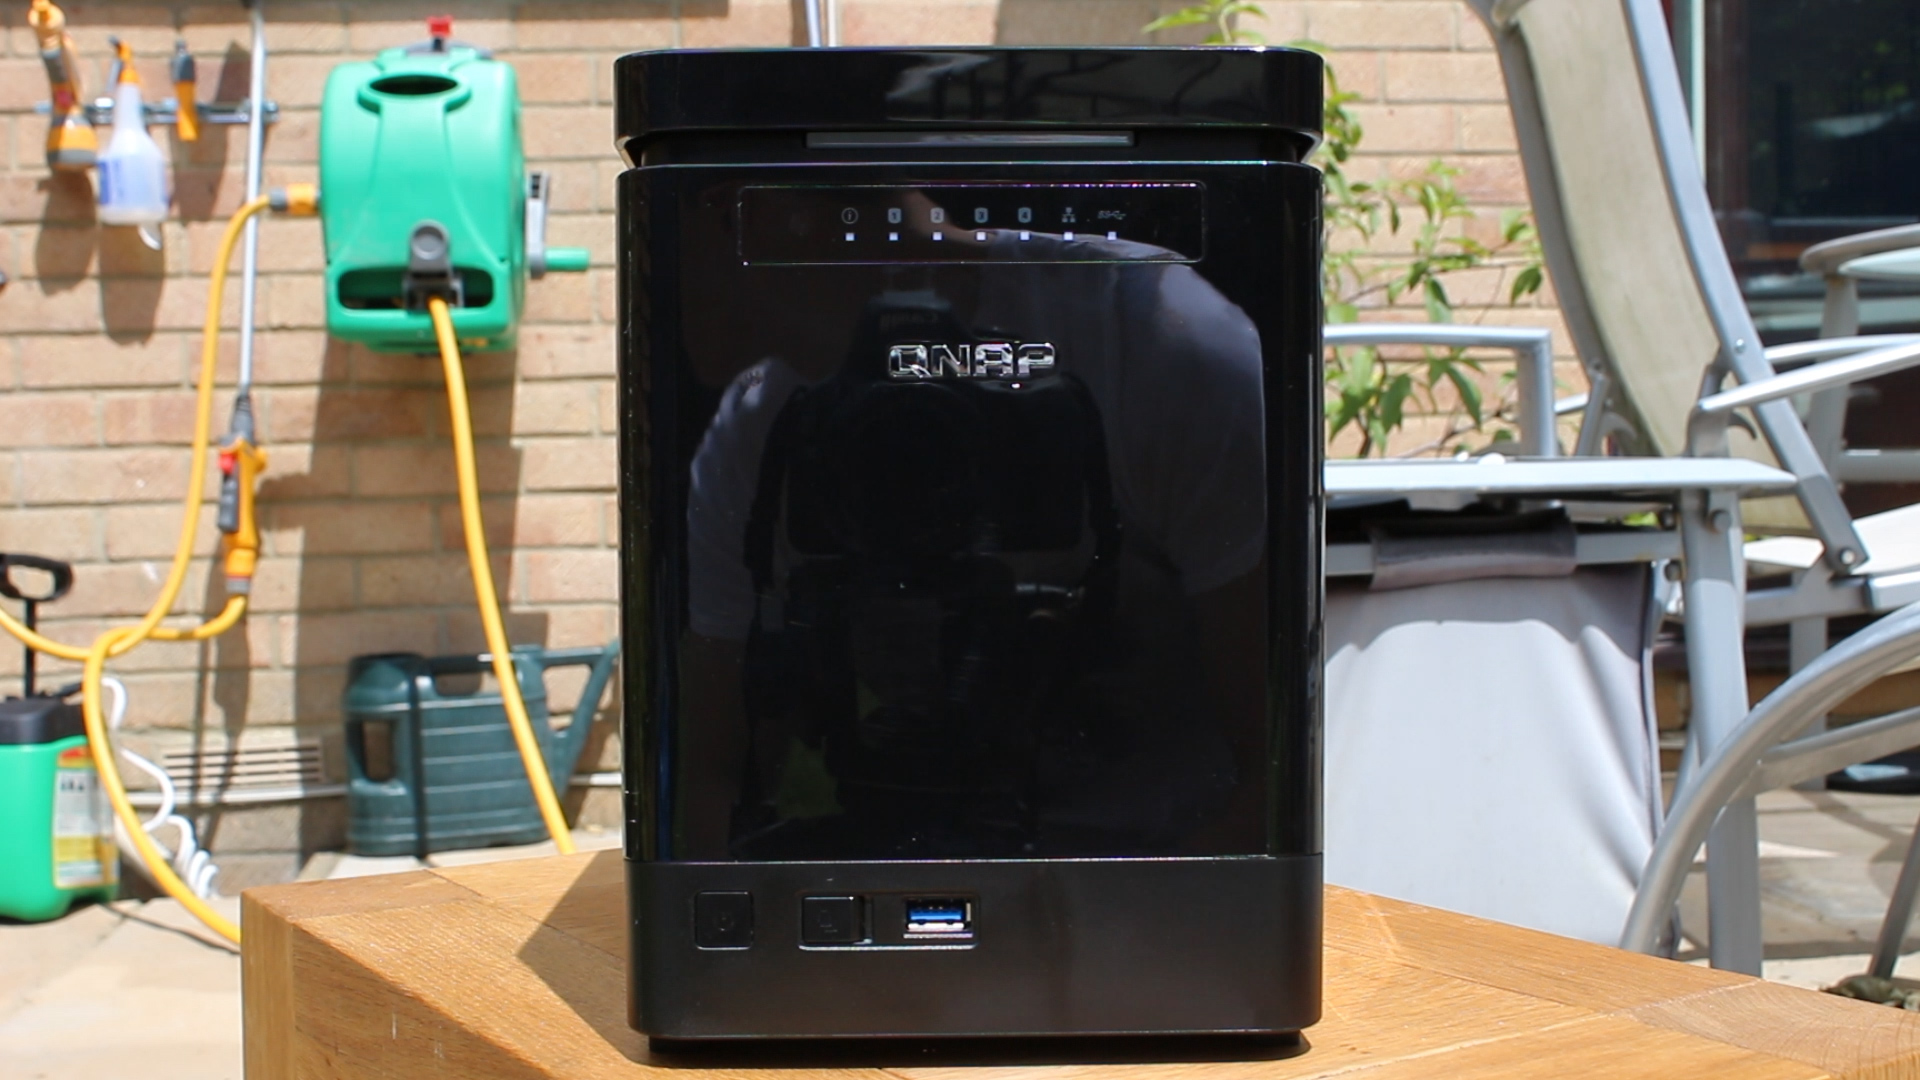 This overly glossy ‘upright’ style NAS is pretty good looking, even if it is a fingerprint magnet! On the front, starting at the top, you’ll find the magnetic top plate that can be easily removed if you need to take it off, a blue LED bar acting as the power LED, then a full set of 4 HDD LED activity LEDs, an IR receiver for the included IR remote, and LAN/USB LEDs too. At the bottom, on the suitably matte plastic bottom, is the power button, USB 3 port and copy button. I like that this is matte, as this is the area you are likely to touch once you have it set up – putting in memory sticks and such. One minor thing I’d love to see on these NASs is an SD card reader with the same copy button – as I know myself and others have a lot of pictures and such, so to be able to backup/store them on this with a push of a button would be really cool. To extend on that point by the way, this NAS, sporting 8GB of RAM and a quad core Intel Celeron at 1.2GHz, actually has the feature of on the fly transcoding! Yes, if you are a filmmaker/youtuber, and you want to speed up your workflow, copy your recently recorded files into the hot folder, and it will automatically convert the files into whatever you like, for example an h.264 MP4 file for easier editing! Amazing (now you see why I want the SD card reader!)!
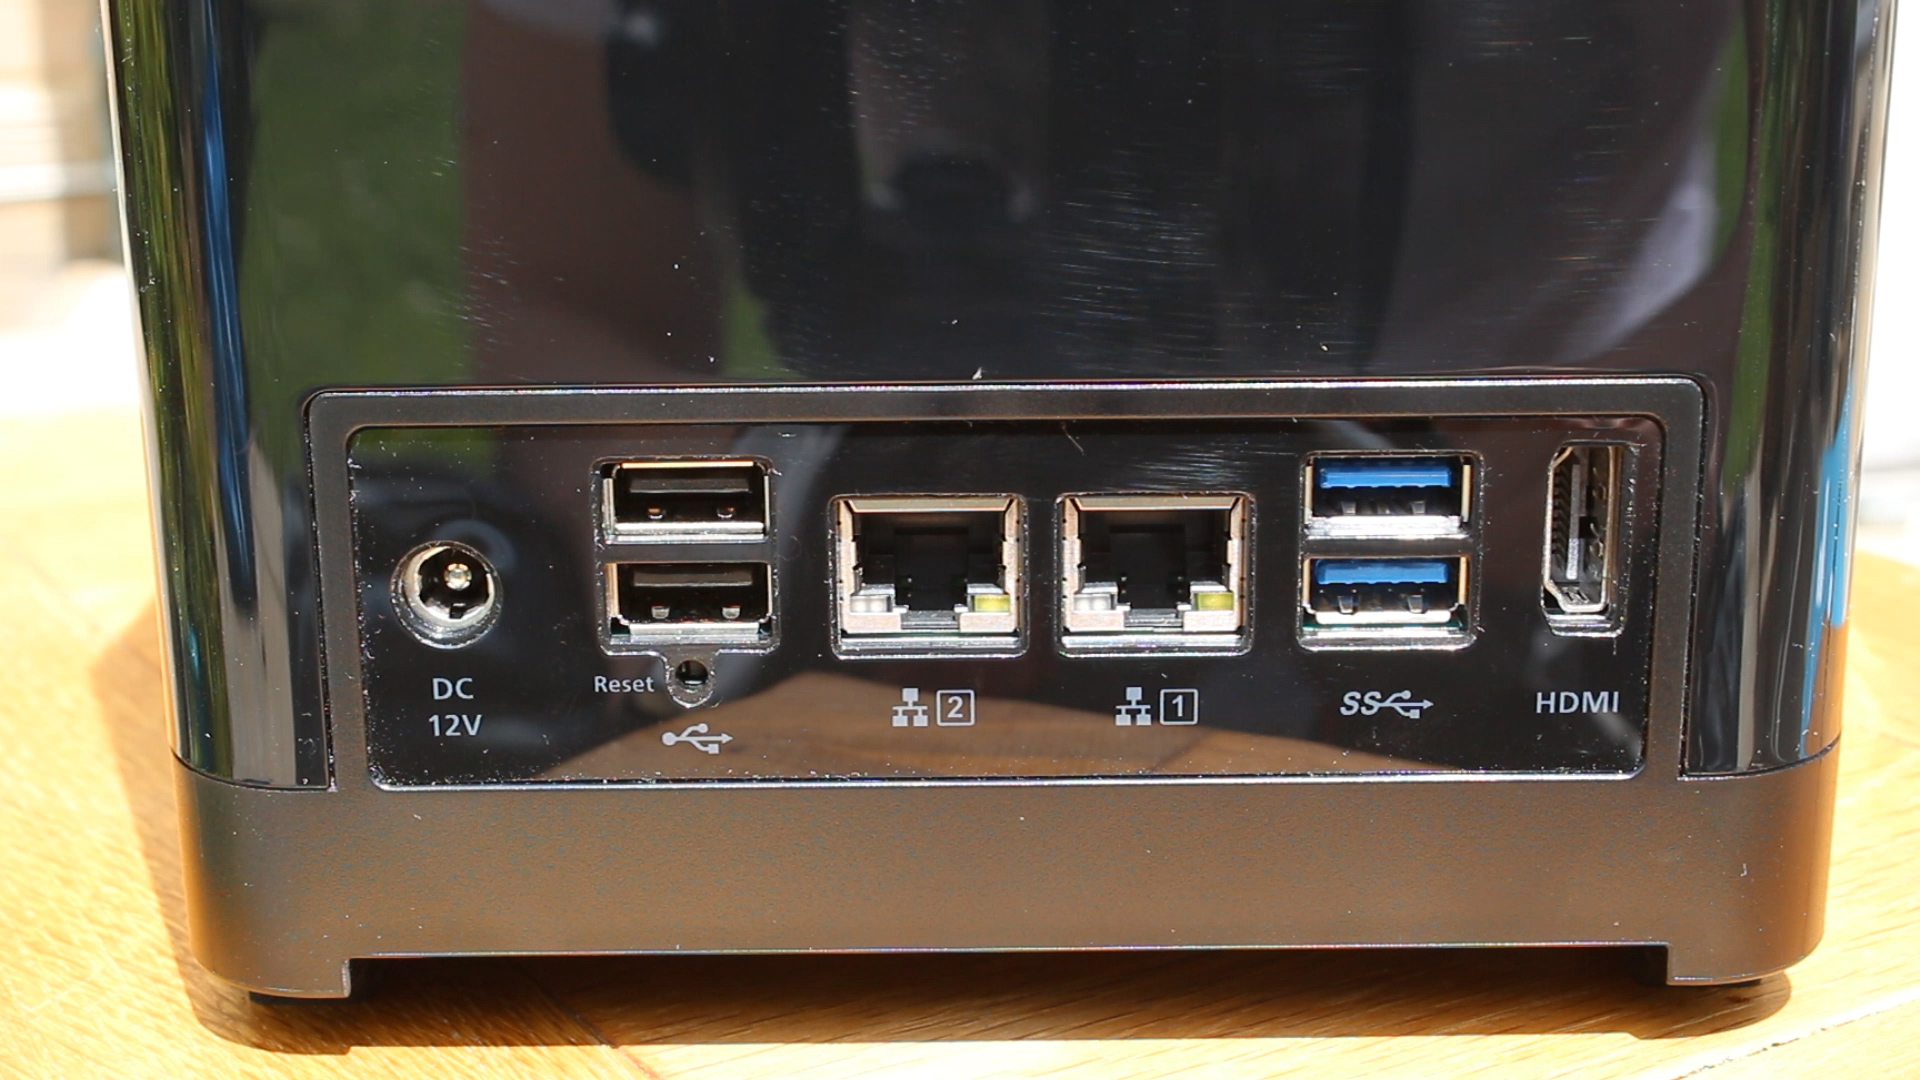
The rear I/O is comprised of a 12V DC input from the small power brick, a reset pin button, two USB 2 ports, 2 gigabit ethernet ports, two USB 3 ports and an HDMI port for PC replacement and HTPC use! Things just keep getting better! I’ll explain the use of the HDMI port later, but know that teaming (doubling the network speed by using both ports) is supported on this NAS! See this tutorial here if you want to know how to (QNAP).
[Best_Wordpress_Gallery id=”3″ gal_title=”qnapts453mini1″]
So as you can see, we were using WD Red drives for this review (huge thanks to WD for those!), and while we are running RAID 1, we are just pretending there is just two 4TB drives in there! Installing drives in the sleds are incredibly easy, just take the two clips of the sides, put the drive in, push the clips back in and you are all good! If you want to use 2.5″ HDDs or SSDs (this NAS supports file caching! Amazing!) you can easily screw them in using the included screws!
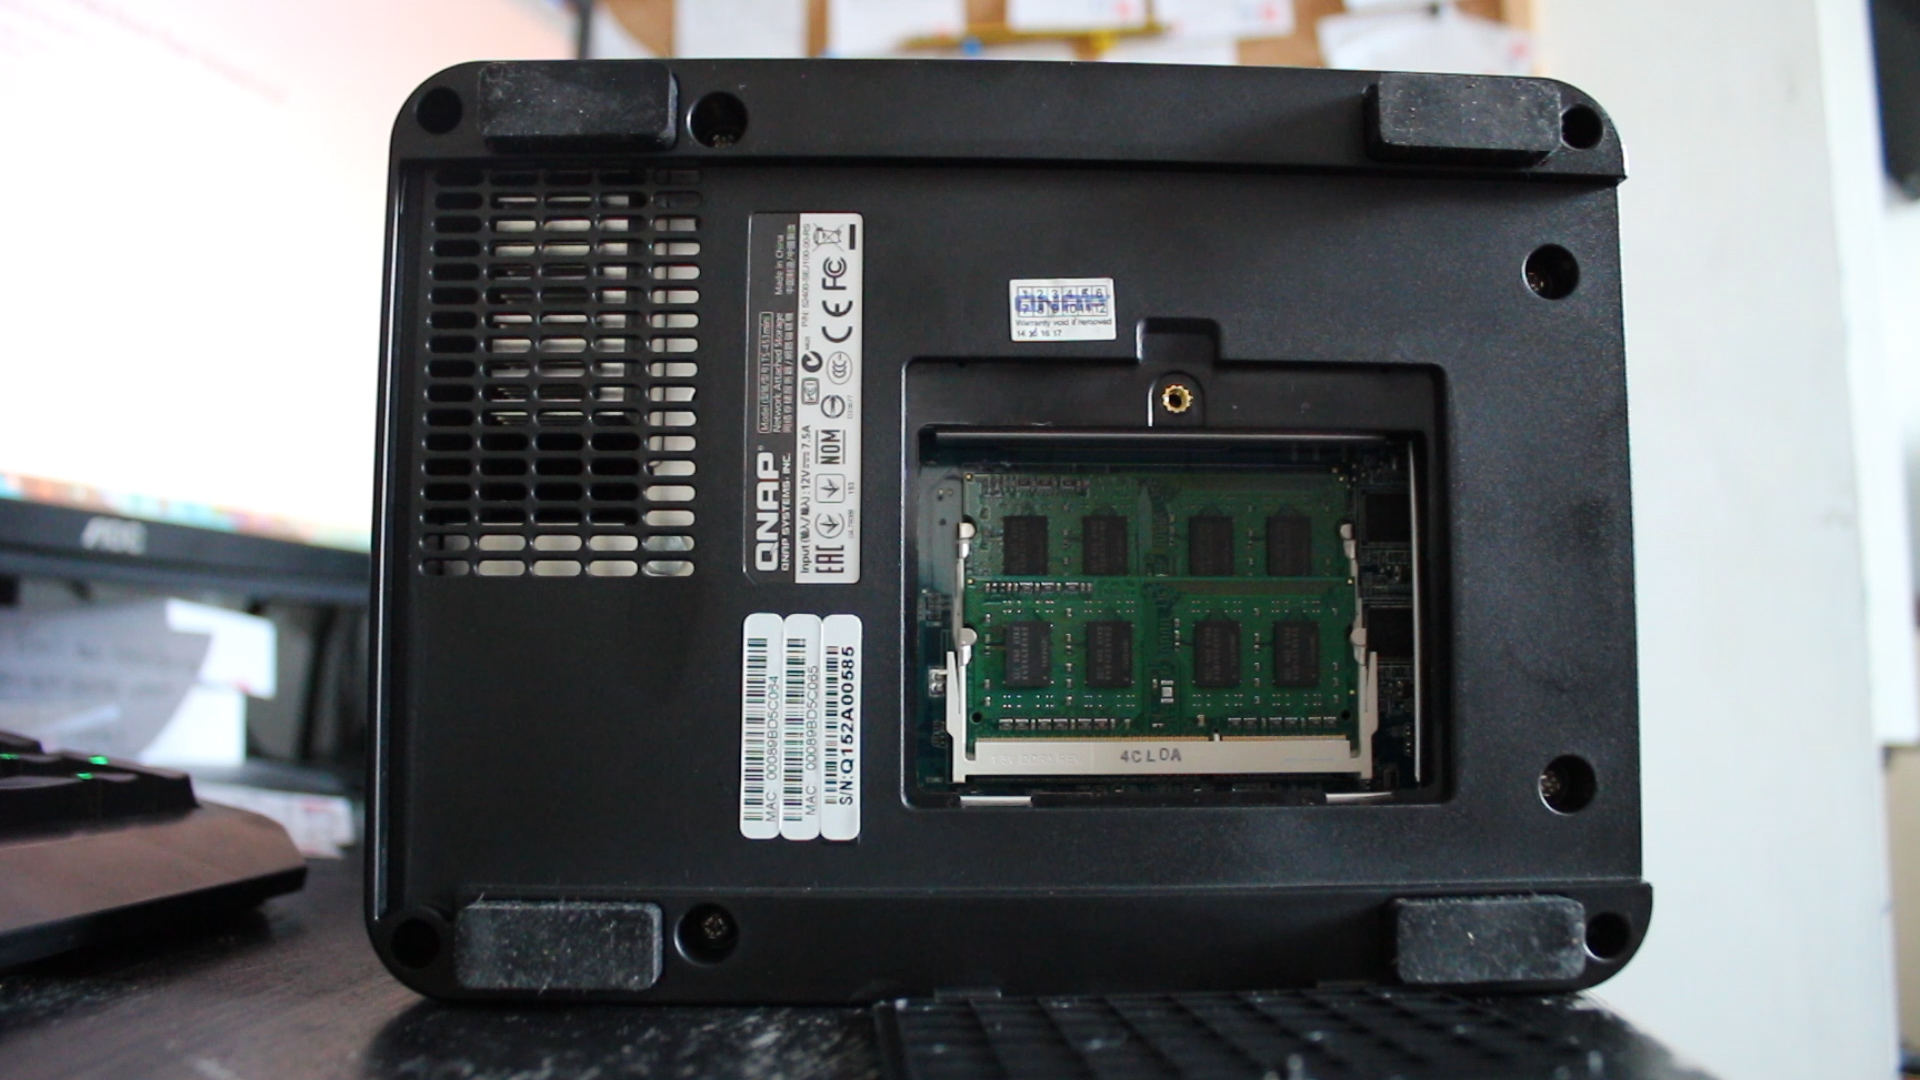
Now the killer feature for this NAS for me, is that fact you can upgrade the DDR3 SODIMM RAM using a flap at the bottom. Seriously, this is great! If you wanted to start off cheap, you can buy the (at time of writing) £350 2GB version, then at some point in the future switch the RAM out for 8GB or (if you can find any) 16GB, which you can use for ZFS storage or for the Virtual Machine server on the NAS (oh yeah, did I mention this can run any VM from a remote location? No? Oh, well it can. And it’s awesome!)!
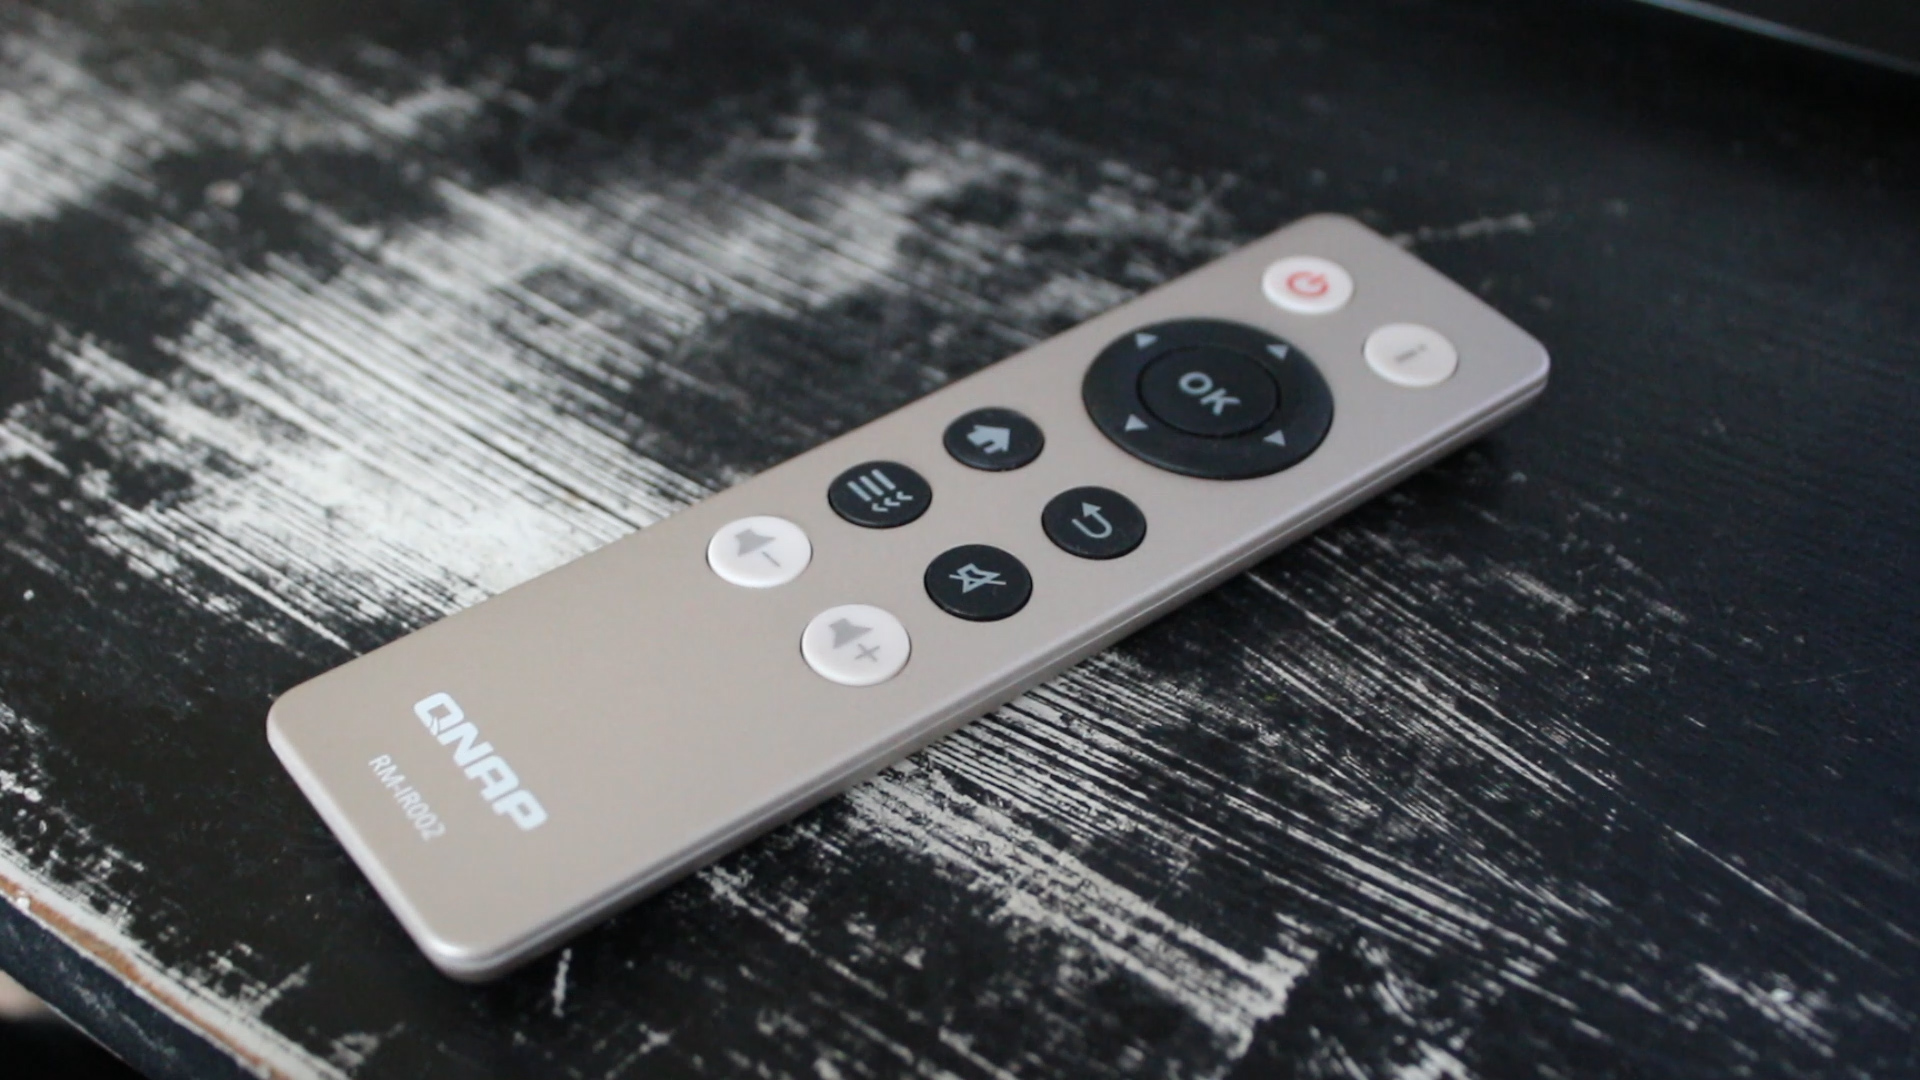
As I mentioned, the NAS comes with a cool little IR remote, which you can use to navigate Netflix, XBMC or anything else you have installed on the media center side of the NAS, using that HDMI port! Again, a nice touch.
The next page is software!


