Gigabyte Z97MX Gaming 5 mATX Review
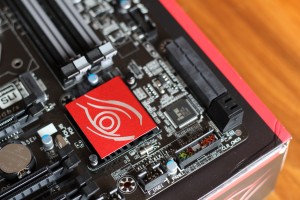


As you can see from the pictures above, this board, despite the brown PCB, looks very nice, with the black and red colour scheme working very well! Something I found interesting is that the board uses a 8 pin EPS power connector, not a 4 pin, meaning this was designed to take an overclocked, high end devils canyon chip and not sweat at all, which is pretty awesome! We will get into overlocking, the bios and the usability and build experience with the board later in the article! I quite like the coloured front I/O headers, as it makes it a lot easier to tell what is what, and where to plug what must be the most annoying connectors in a PC in. It also has the connectors printed on the PCB below the connector, which is even better! It shows Gigabyte have though about the end user, and taken actions to make building with the board a lot easier!
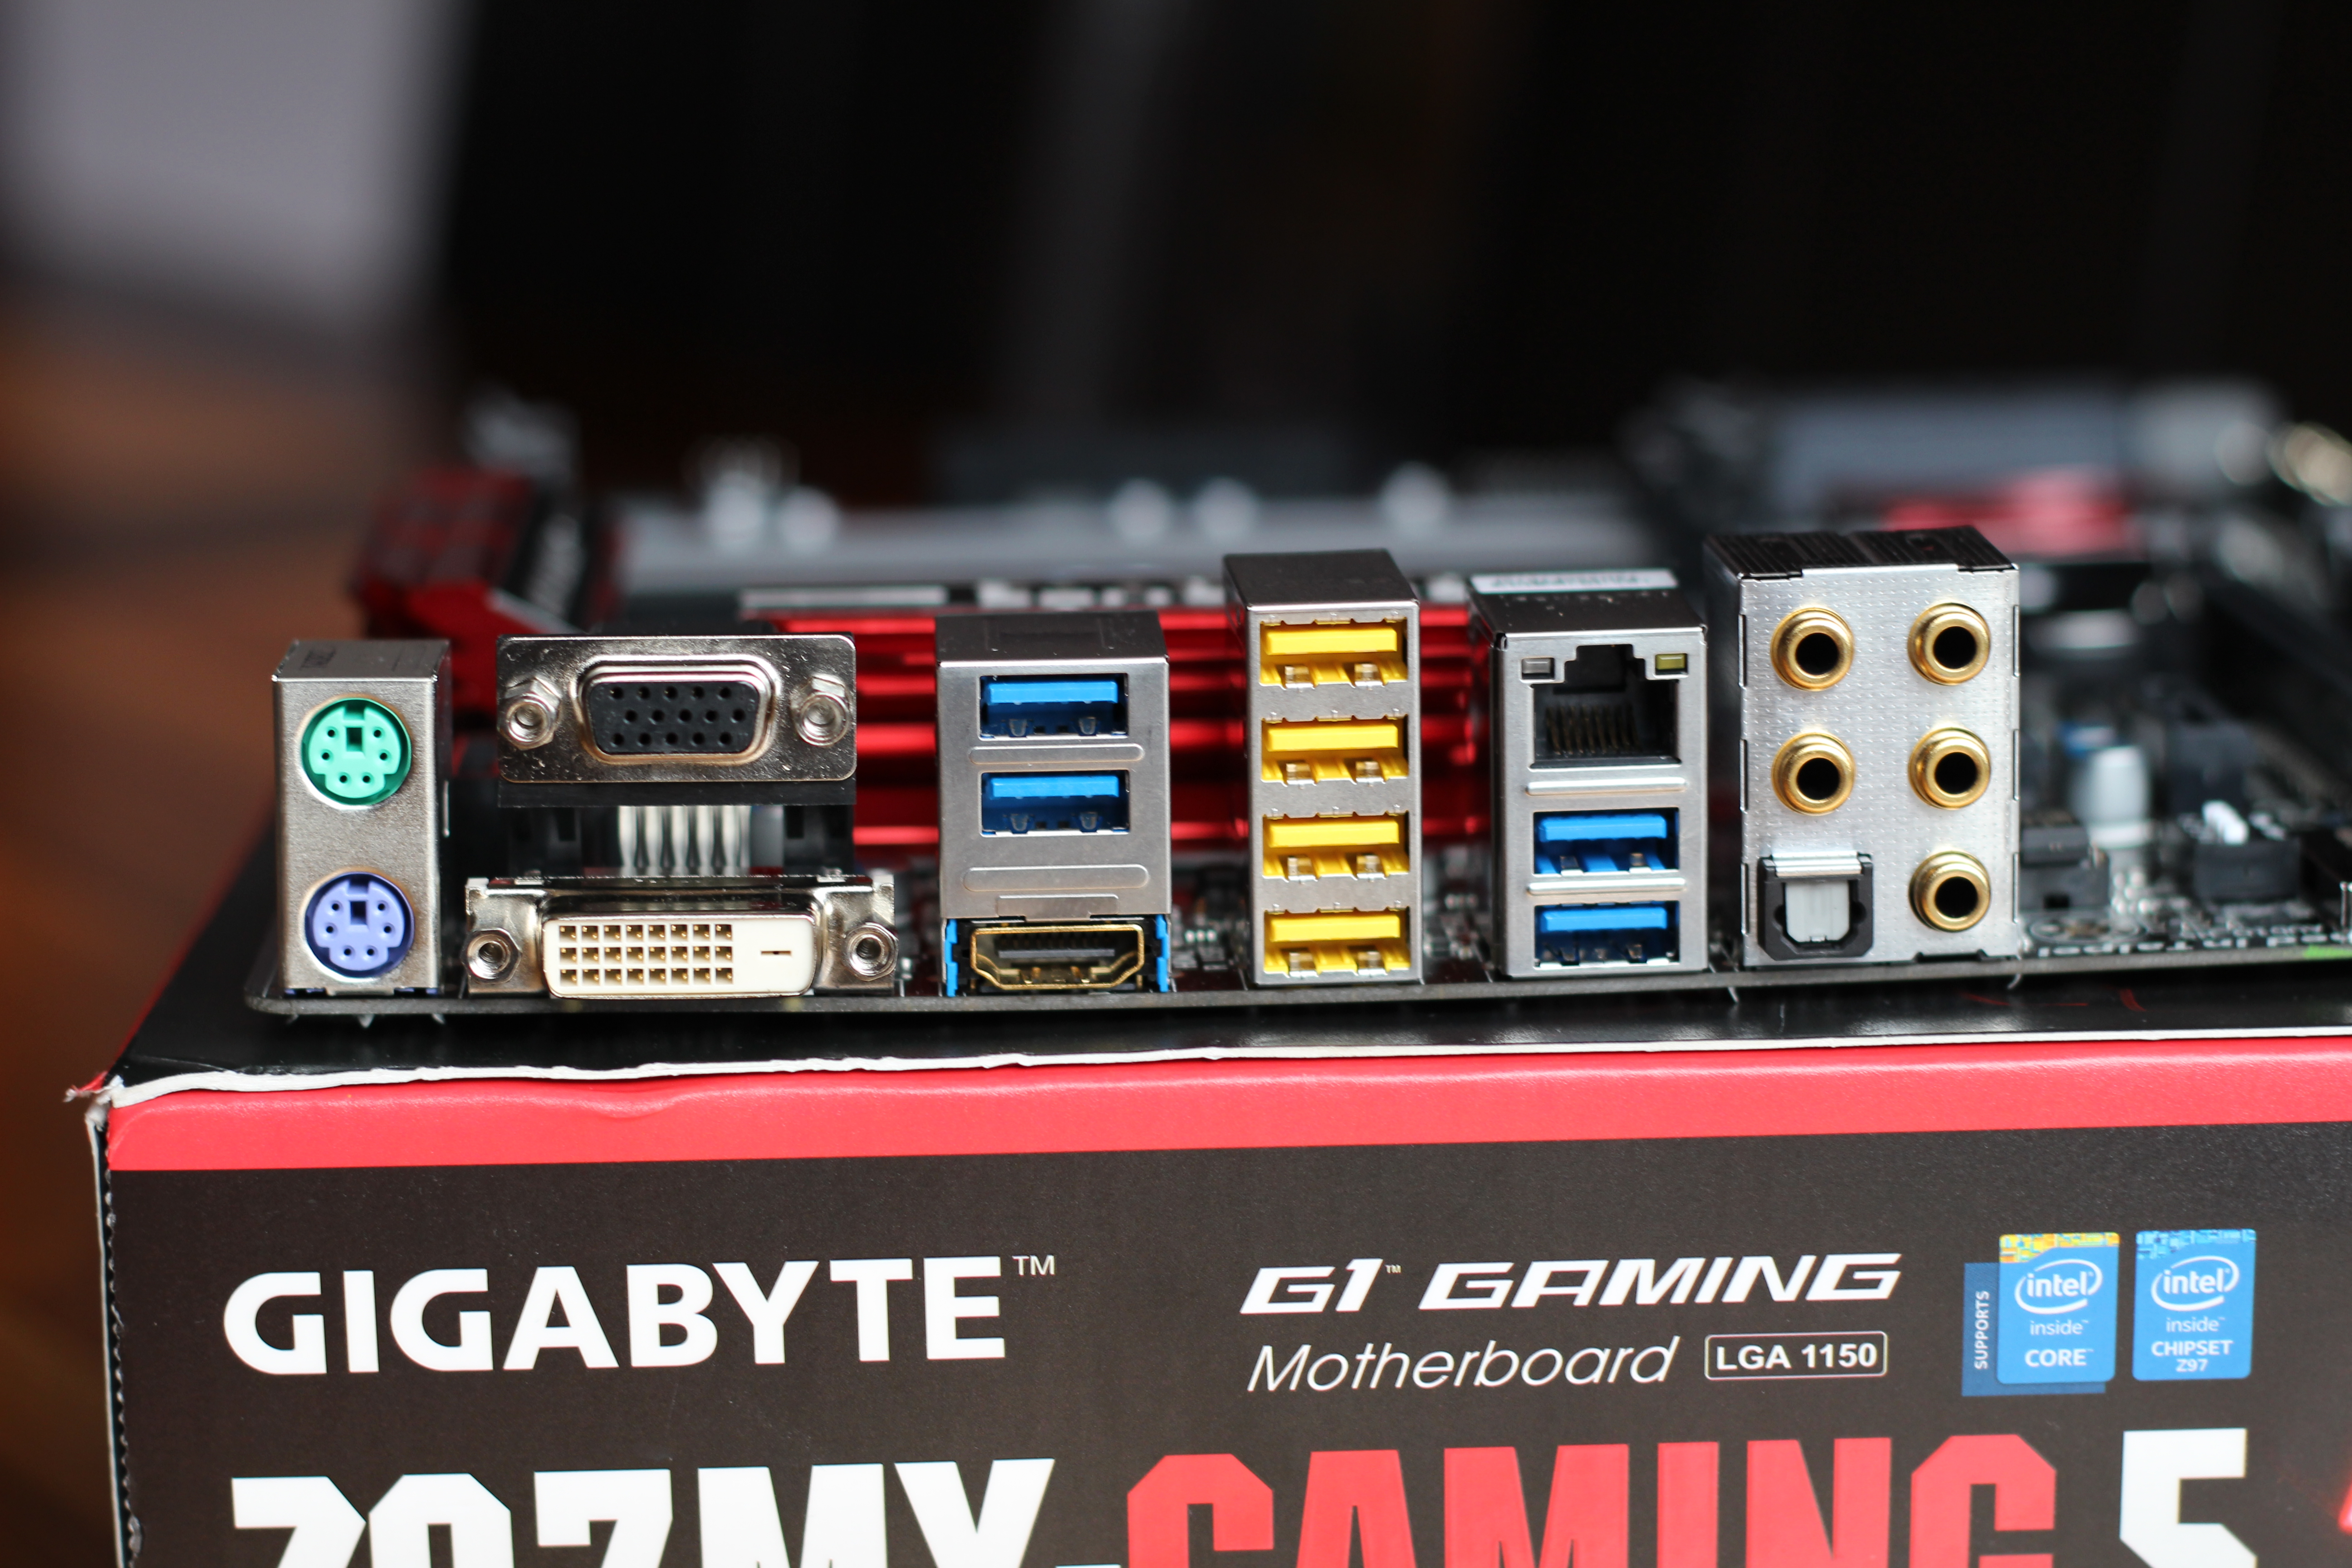 Before we take a look at the board in a system and the UEFI, I want to mention the Rear I/O. Starting from the left, we have a PS/2 Mouse and Keyboard ports, which is a little strange as it’s normal to have a PS/2 Mouse/keyboard combo port, so having separate ports is a little strange, especially for Z97! Next we have a VGA port and a DVI-D port, as the VGA pins are missing from the right side. The other display output is an HDMI port, sitting underneath two USB 3 ports. To the right of that is four USB2 ports, another two USB3 ports and a Killer E2200 NIC are next. Finally we have the gold plated audio connectors, with the full 7.1 & SPDIF connectors.
I really like the I/O set here, although as I mentioned the two PS/2 ports are a little strange, but it has a decent amount of USB3 ports, and it’s always good to have a few USB2 ports for compatibility. The gold plated audio connectors are a nice look, but a lot less practical than usual, as none of the ports are coloured, so you have to rely on looking at the tiny labels on the I/O shield.


