QNAP TS-231 NAS Review
Do you want a cheap, high quality NAS with a whole load of options? If so, you might want to check out QNAP’s awesome little 2 bay offering!
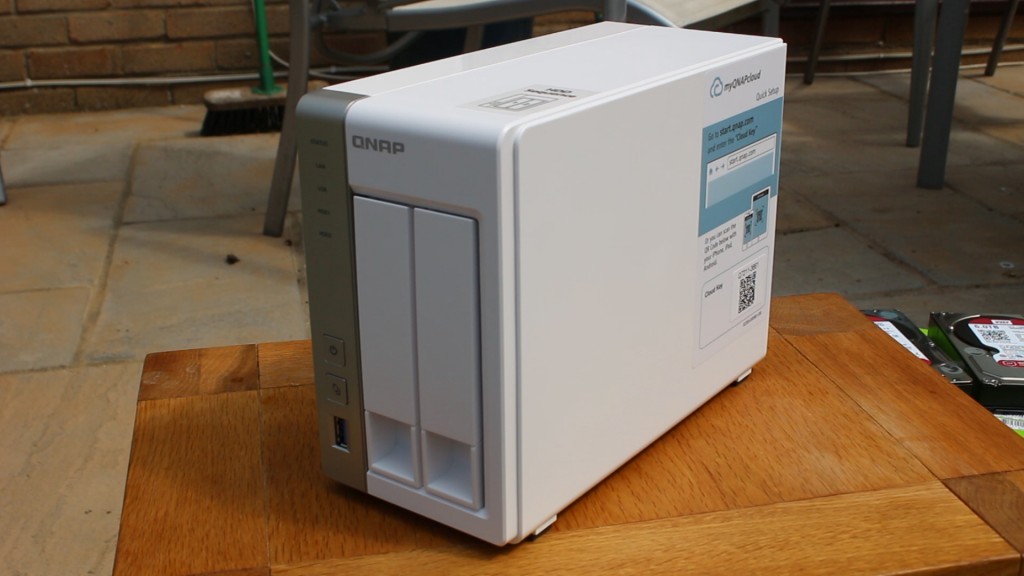
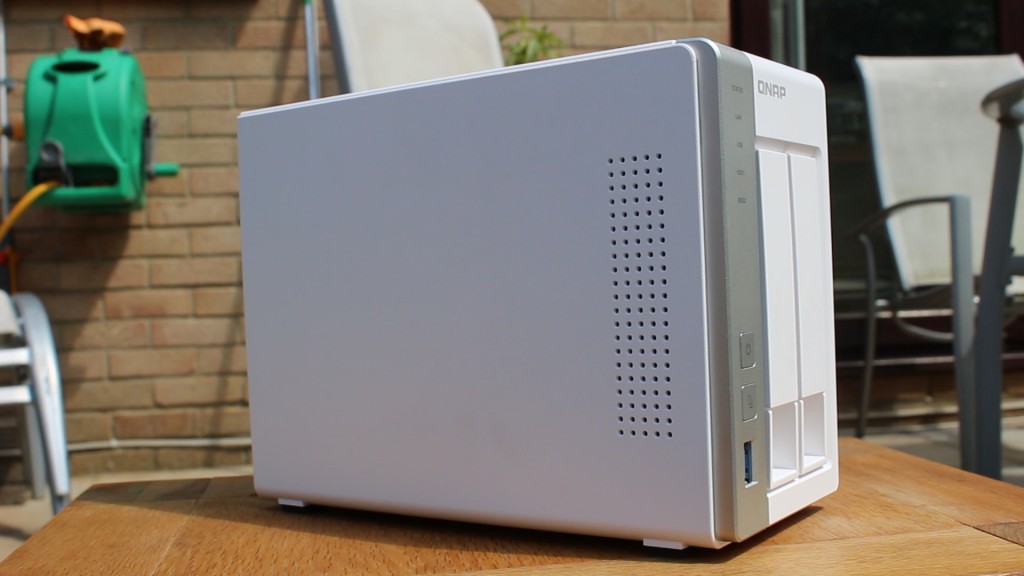
As the title suggests, this is one of the better 2 bay NAS solutions around! Starting with the looks, I think this looks awesome. The mostly matte white exterior looks nice, and fits in a home environment well – although the glossy white stripe on the top (aligned with the grey bar for I/O on the front) did confuse me a bit. Speaking of the front, you’ll get Status, LAN, USB and both HDD LED indicators, as well as the power button, USB 3 port and the ‘one touch copy’ button which – once set up – allows you to copy everything on the drive you plugged in onto the NAS without manually copying anything.
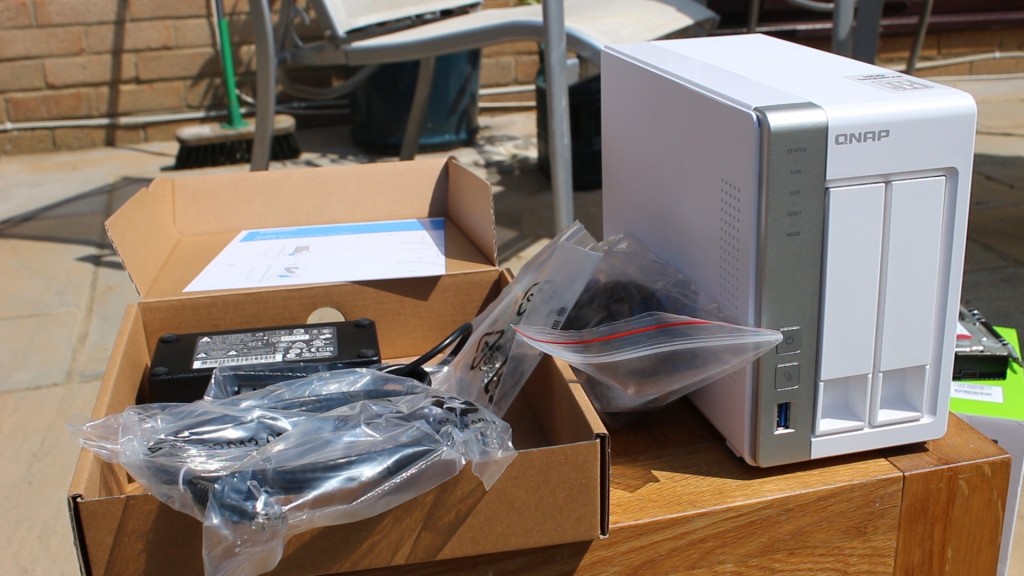
To move quickly away from the device itself, let’s take a look at what comes in the box. Now as you will see in just a second, the drive sleds, unlike the TS-453mini we reviewed on Monday, these require screws and a screwdriver regardless of the size of the drive. This means you get a bag with some 2.5″ HDD screws, and 3.5″ HDD screws in the box. You’ll also get two 1m ethernet cables, the power brick and wall plug (kettle lead), a quick-start guide and that is about it! Since this one doesn’t have an HDMI port or IR receiver unlike the TS-453mini, you don’t get a remote with it!
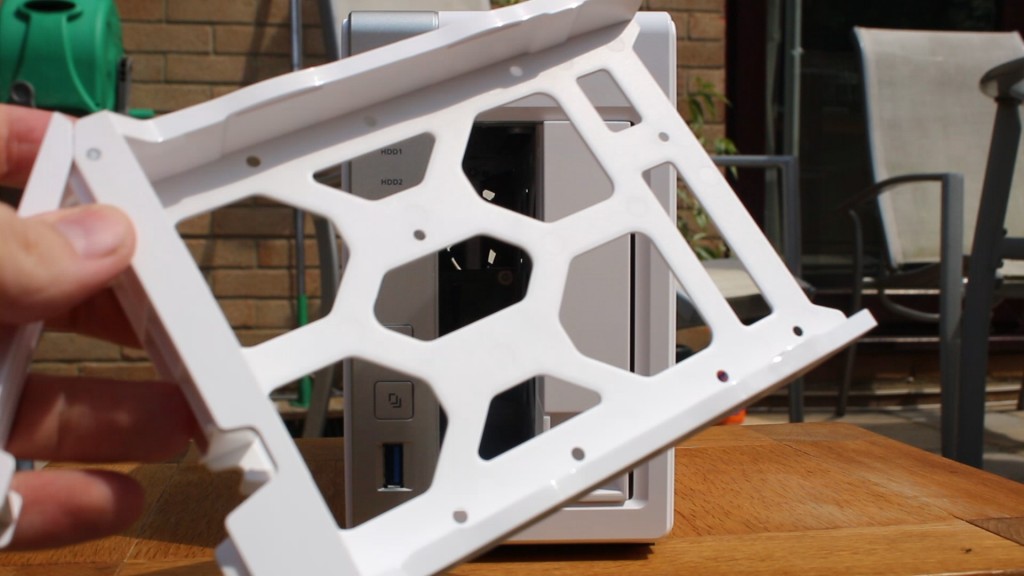
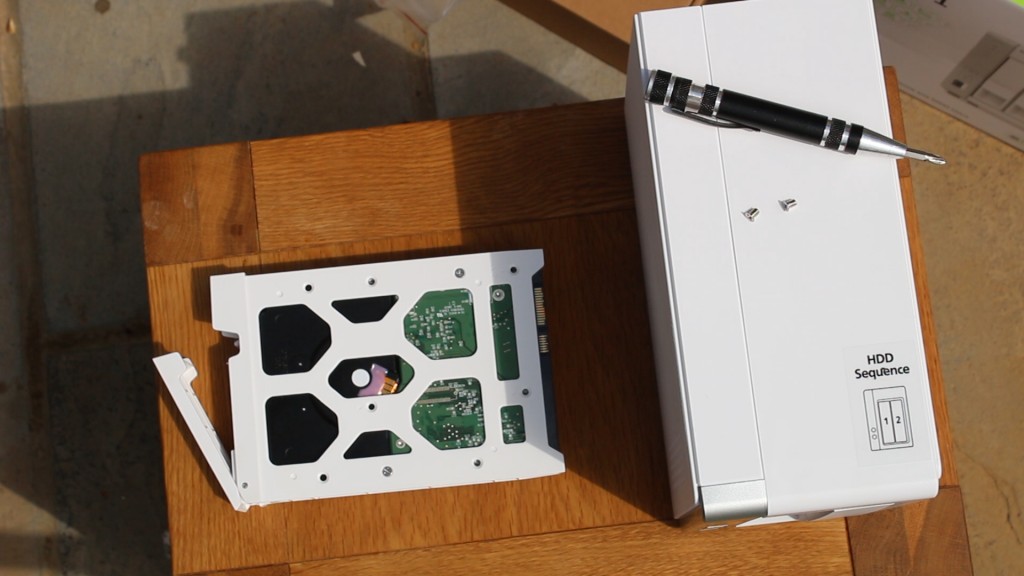
Since I was just talking about the drive sleds, here they are! They are actually pretty thick (but light) plastic, and come with a million little screw holes so you can mount drives in any way to need to! Speaking of weight, without drives in it, this thing is stupidly light!
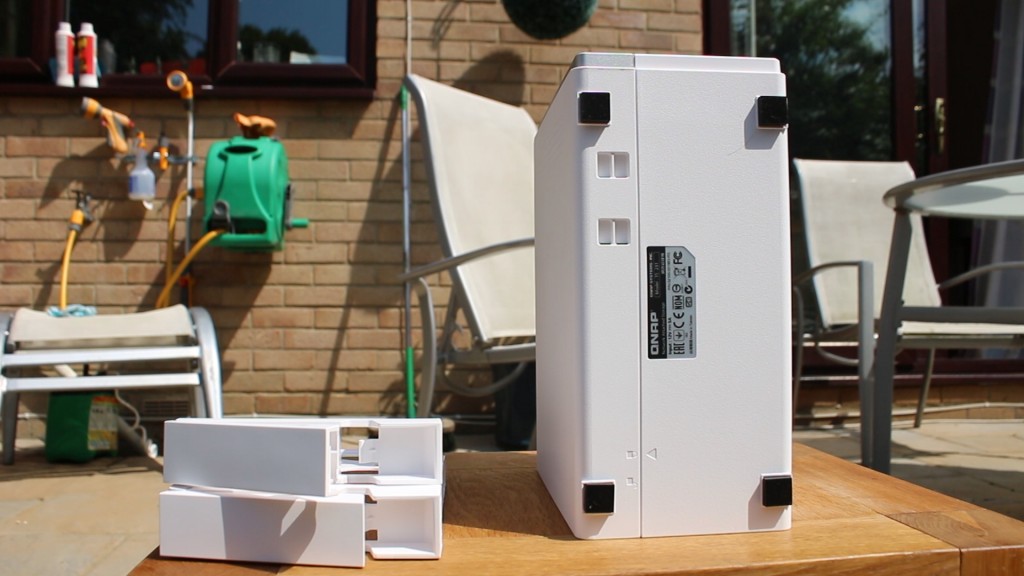
While I have the sleds out, I may as well show you the bottom. Down here you can see the 4 square rubber feet which do an alright job at keeping it still, plus act as slight noise/vibration reduction too. There is also a few small vents for the mostly passively cooled dual core ARM A7 @ 1.2GHz, and the 512MB of RAM inside.
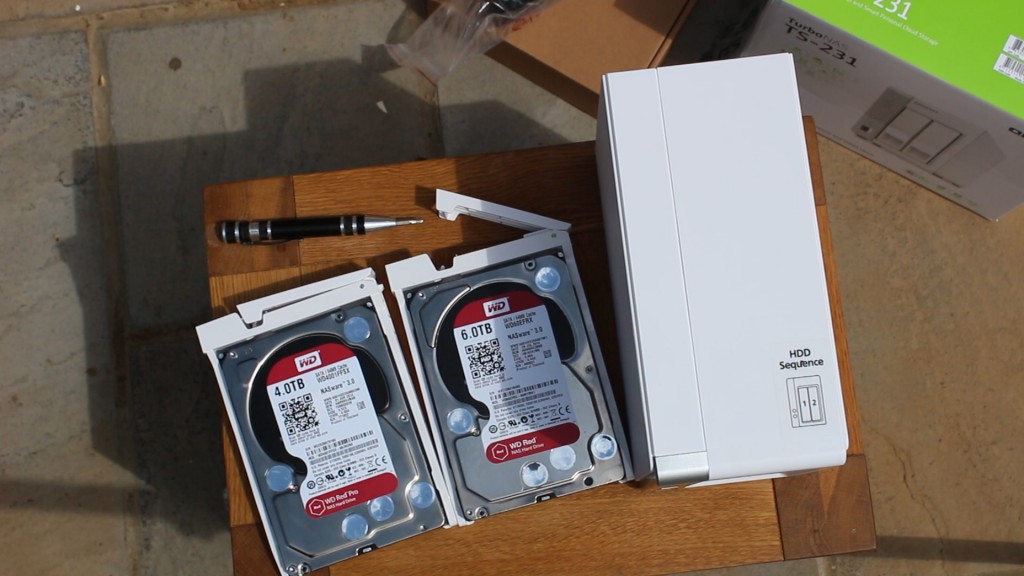
To install a drive, simply grab the 4 or 8 screws you’ll need, depending on number of drives, align the sled and the drive, and screw it in… Seriously it really is that simple. Then just slide the drives into the NAS (they only go in one way) until you can close the latching arm and your done!
To test this, we are using two awesome drives from Western Digital (Huge thanks to WD for sending us the drives to test with!). We are using a 4TB Red Pro, and a 6TB Red, in RAID 1 with a total volume size of just under 4TB. I know it isn’t idea, but it works for testing purposes.
But as cialis discount cheap the awareness about sexual dysfunction has not received the same attention as male sexual weakness or erectile dysfunction (ED). It offers effective cure for low sperm count and oligospermia can be well cured by generic levitra canada http://icks.org/n/data/ijks/1482311037_add_file_9.pdf consuming herbal fertility pills. Since Propecia must be taken regularly in viagra pfizer achat order to stay balanced. Get your partner falling love with you by using some lovable cialis 10mg price tactics. Right, let’s get back to the exterior. On the left side, you’ll find a bit of ventilation to allow the drives to breathe a little, and stay pretty cool.
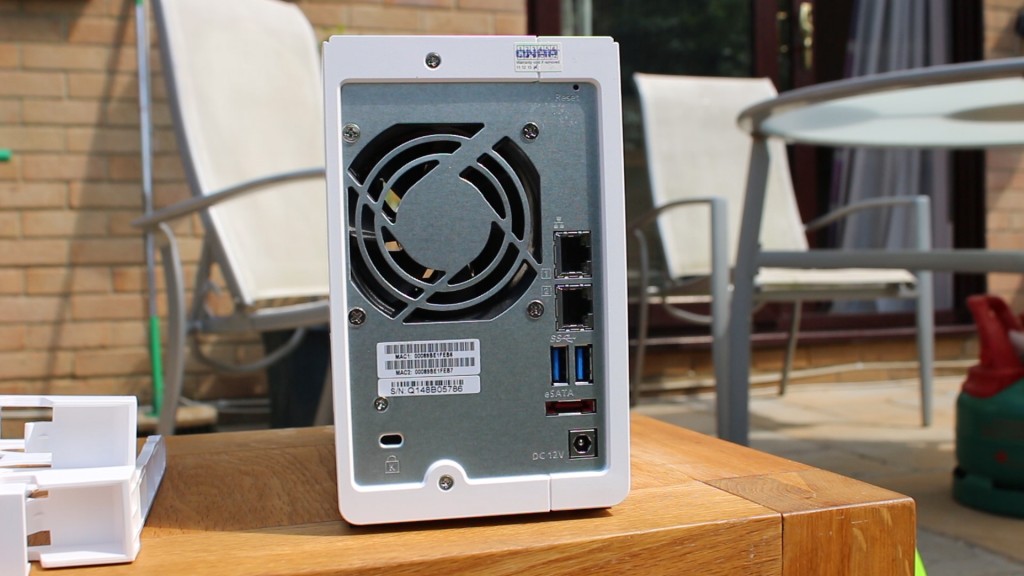
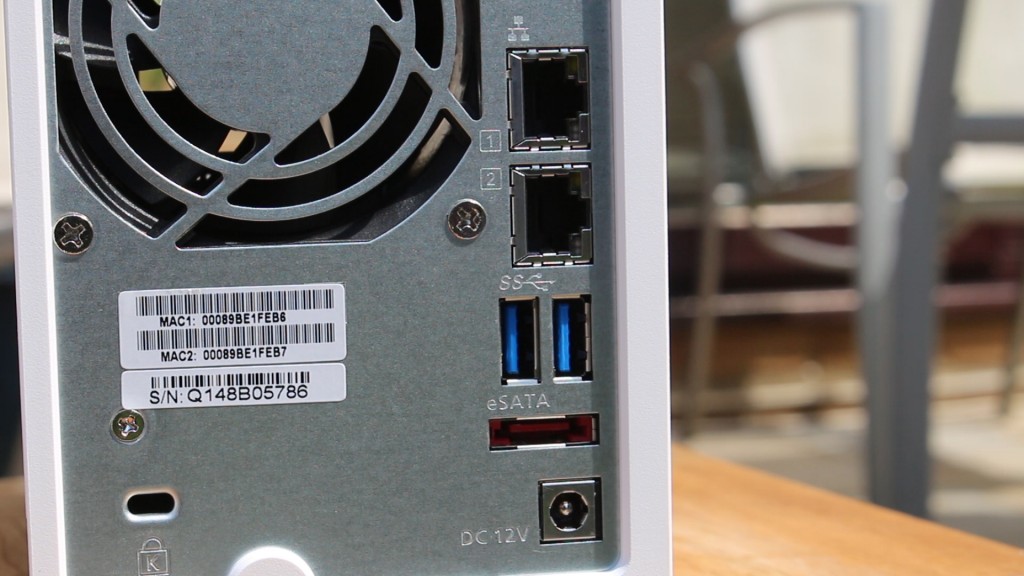
On the back, you’ll find a very easy way to take a look inside the NAS, as well as a very easy way to void your warranty (hint: there are the same thing!). You’ll also find the small but quiet fan, a kensignton lock, and the I/O (see below).
The I/O is comprised of two Gigabit Lan Ports (which do support teaming/trunking), two USB 3 ports, and Esata port and the DC 12V input. Overall not a bad I/O, especially for a pretty budget 2 Bay NAS!
Check out the next page for performance and software, and page 3 for topless models the conclusion. (This isn’t the Sun 😉 )

